
I don’t know about you, but just the thought of a warm, salty and garlicky everything bagel makes my stomach grumble. Add some cream cheese and lox and I’m salivating like a dog. These bagels, hand over heart, are what dreams are made of.
One of my favorite parts about visiting New York City is the fact that a good bagel place is always just a stone’s throw away from you no matter where you’re at. And the absolute best lox sandwich on an everything bagel, hands down, is at Ess-a-Bagel,I swear. I know I said earlier that I’m a vegetarian, but I guess I have a problem with authority because no one (and I mean NO ONE) can tell me that I can’t have a bagel with lox, no matter who you are. The soft and salty lox mixed with cream cheese and a chewy, garlicky and salty everything bagel is just not something that I’m okay with forgoing.
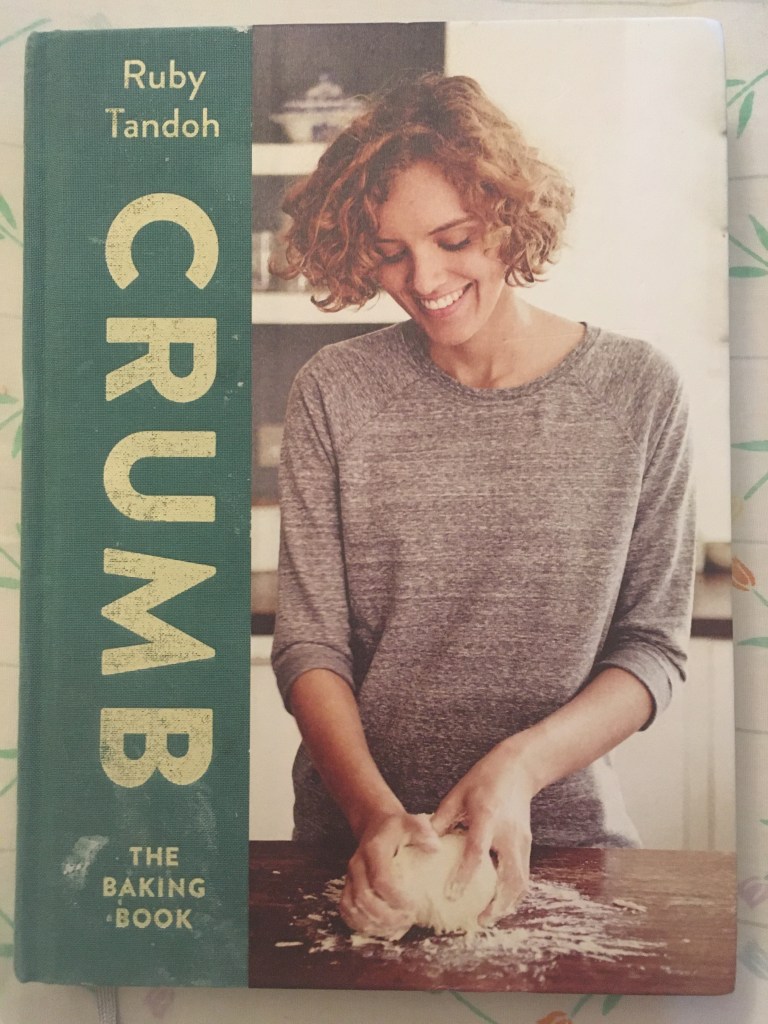
That said, about a week ago the cravings for an everything bagel with lox and cream cheese began in earnest. And the other day, I just couldn’t fend them off any longer, so I found a bagel recipe in my cookbook, Crumb, by Ruby Tandoh (Yes, Ruby from one of the earlier seasons of the Great British Baking Show. I’m kind of obsessed with that show) that didn’t look too daunting.
I had always thought that making bagels would be a tricky process because there’s boiling water involved, but it turns out that I was really wrong. Bagel making, while not a walk in the park, isn’t too difficult to try your hand at. I had to make a couple of tweaks to Ruby’s recipe because I sadly didn’t have the rye flour or caraway seeds that the recipe called for, but the results still made me feel as if I was in bagel heaven, and I daresay, were slightly better than they would have been with the addition of rye.
Now you’ll have to forgive me, this recipe is in grams and millilitres because the book I have was published in the U.K. (and I was too lazy to figure out what each measurement was in cups, sorry!). I would recommend just getting a small kitchen scale from Target (that’s where I got mine); the cheapest one they have (mine) is $14.99. I promise, having a digital kitchen scale will definitely come in handy down the road!
Just a word of caution, bagel dough is meant to be dryer than normal bread dough, so don’t get scared if it’s tougher and not as sticky as you think a dough should be (I freaked out about how dry my dough was, but the bagels turned out just fine!). I’m not going to lie, it took everything in me not to add more water to my dough because I couldn’t believe that a bread dough was supposed to be that tough and dry, but it is 100% supposed to be that way. DON’T ADD EXTRA WATER.
After willing yourself not to add extra water and letting the dough rise (built in nap time), it’s dough shaping time. This part is a breeze. You just divide the risen dough into eight pieces, form each one into a ball and then, taking one at a time, use your fingers to punch a whole through the center of the dough ball. Once you’ve made a hole, stretch the dough all the way around, moving it in a circle (making the hole bigger and bigger as you stretch it), until you have something that resembles (even vaguely, it’s all about creative interpretation, right?) a bagel.
If you have polenta just chilling in your pantry (I have no idea why, but I surprisingly did–polenta is actually really good if you cook it right, but that’s for another post) you can spread some of it over a cookie sheet and lay your beautifully shaped bagels on top. The polenta will keep the dough from sticking to the pan, but if you don’t have polenta, no worries, just use some flour instead.

Now comes the fun part. Boiling! It might also be called poaching the bagels…I’m not quite up to snuff on all the correct bagel lingo and terminology. Nonetheless, once you’ve got your pot of water boiling, it’s time to add the baking soda. When you add it, the water will fizz up a little like you’re pouring pop into a cup. I don’t know, I thought it was kind of fun to watch (a little chemistry to help you get through your day). Then you just add your dough, one at a time, and let it sit on each side for about a minute or so. This time in the water is what gives a bagel its trademark chewiness. If you’re ever on Jeopardy! and that’s the answer to one of the questions, you’re welcome.

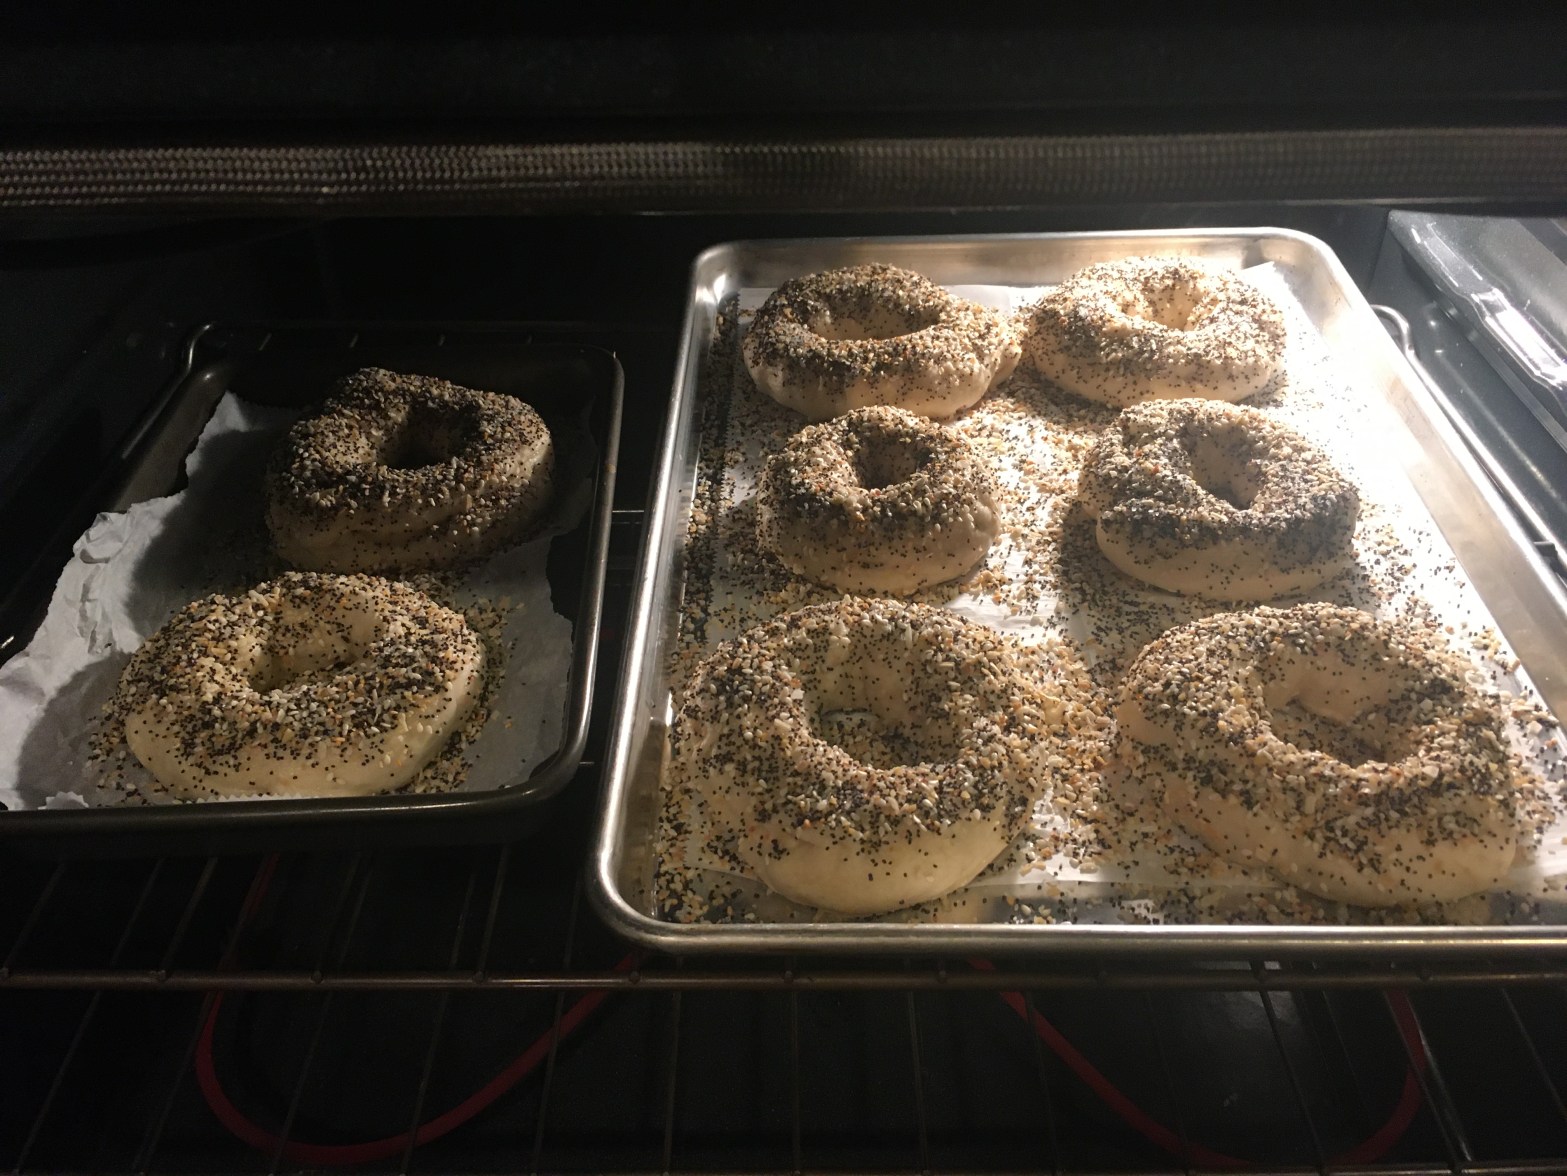
After their 60 seconds on each side, the bagels go back onto a greased or parchment paper lined cookie sheet, get brushed with water and finally adorned with a generous amount of everything seasoning (the more the better in my book). You can use either store-bought seasoning or homemade (I just googled everything seasoning and made my own, but if you already have some laying around, just use the pre-made stuff!).
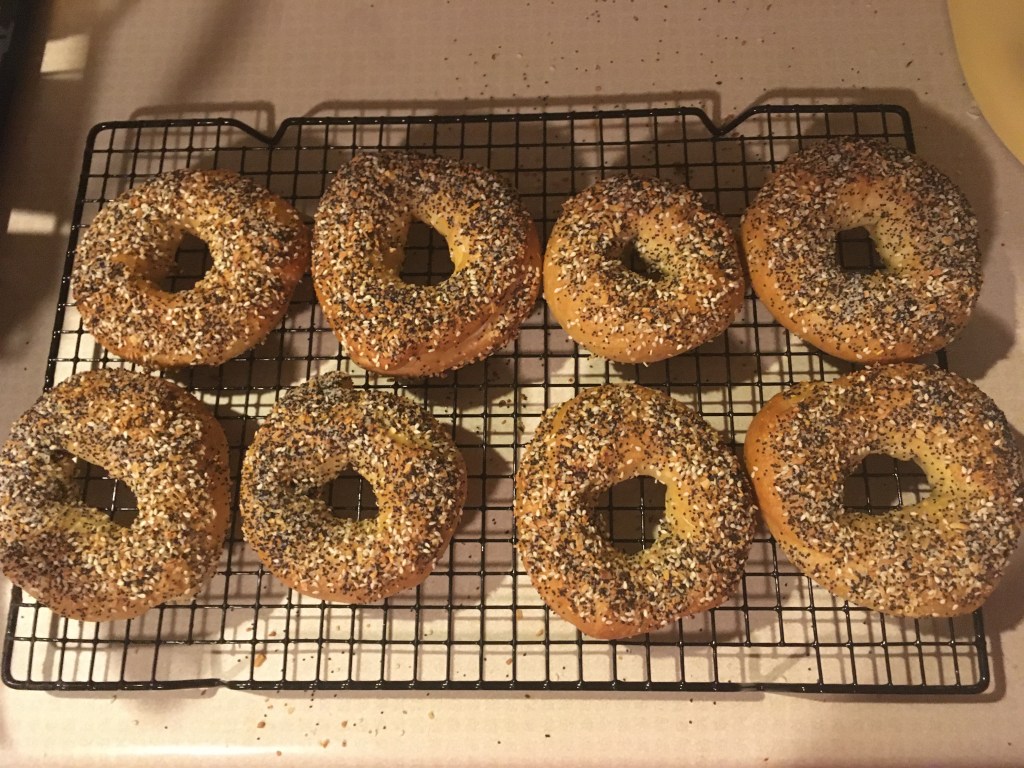
Then you’re good to go! Just bake them in the oven at 355º F for 20-25 minutes and voilà! You have yourself some scrumptious homemade bagels just waiting to be eaten with a healthy heap of cream cheese, a hardy helping of lox, and a sprinkling of crunchy capers, or however you prefer your bagels (they’re your bagels, do with them what you wish. As long as it’s legal, that is).
So yeah, that’s all there is to it. Sorry bagels, I’ve just outed you; you’re not as tough to make as you like people to think you are.

I feel kind of like a professional bagel maker now. Maybe I should make people call me Bruegger now, what do you thing? Next time you see me, I’ll have legally changed my name unless I hear I should do otherwise.
In all seriousness though, I hope you try out making homemade bagels for yourself. They’re absolutely worth the trouble!
Here’s the recipe:

Happy baking!:)
