

People of the world, may I have your attention, please. In this corner, we have the ooberly confident (and slightly intimidating), Paul Hollywood and in this corner, we have the young, non-traditionalist baker, Ruby Tandoh. Tonight, these two baking fiends will face-off in the battle of the croissants. Who will win? No one knows. Stay tuned, folks, to find out who will come out on top.
Picture this: it’s a nice and warm summer morning, you’re sitting on your porch with a big steaming cup of coffee and there’s a freshly baked buttery and flaky croissant sitting there on the table in front of you. It couldn’t get much better than that now, could it?
In an effort to make this idyllic summer morning a reality, I went searching for the perfect croissant recipe.

When embarking on this baking excursion, I turned to two bakers who I love and look to whenever I am on a quest for recipes and inspiration, Paul Hollywood and Ruby Tandoh. Paul Hollywood’s recipes use classic flavors and techniques, while Ruby Tandoh’s are more experimental and tend to buck tradition. Both are great bakers, but have very different approaches to baking, which is why I thought it would be fun to make both of their croissant recipes and see who did it better. Thus, the battle of the croissants was born.
The first recipe I made was from Ruby’s cookbook, Crumb. I love Ruby’s recipes because they honestly always turn out, which can’t be said of all recipes (I’m looking at you, Paul). It’s as if she’s worked all of the kinks out so that way baking and cooking can become easy and effortless for normal, everyday people. That said, Paul’s recipes do work, they just take a little practice. He’s not going to just give you all of his tricks of the trade, you have to work hard to achieve the results you want from his recipes.
As I alluded to earlier, Ruby is the kind of baker who likes to make life easier and her croissant dough recipe is no exception. Her croissant dough is meant to be versatile, it’s a hybrid recipe between a croissant dough and a Danish pastry dough, so that way you can use it for other recipes like franzbrötchen (German cinnamon buns), jam pinwheels, pain au chocolat, cherry diamonds, or for where ever your heart takes you. You’ll definitely reap the most reward from your laboring pastry dough making efforts with Ruby’s croissant dough recipe.
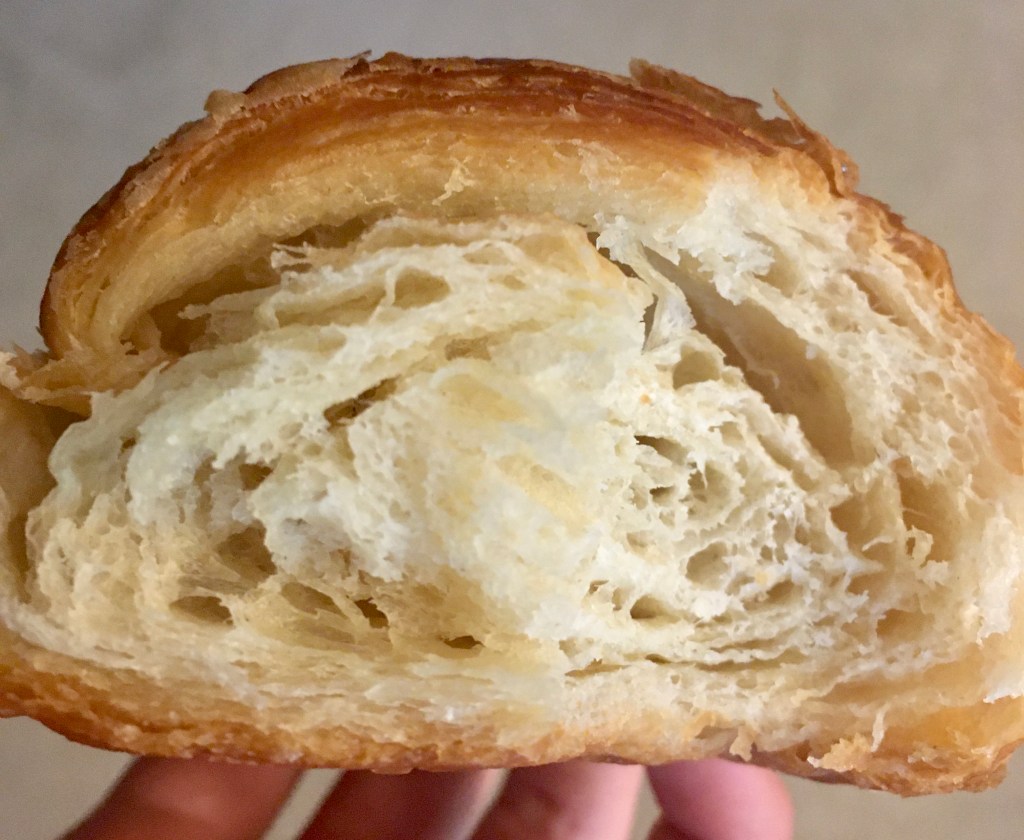
Paul’s croissant dough, on the other hand, is meant strictly for croissants or pain au chocolat. He has yet another recipe for Danish pastries. Ruby’s penchant for versatility means that her croissants are a little less traditional than Paul’s. They are very light and soft, but not a particularly chewy croissants, and even though they’re less traditional, they taste amazing. Just between you and me here, I thought they tasted better than Paul’s more traditional croissants (but that’s just my opinion, feel free to make your own judgements here).
Another point will be awarded to Ruby due to the fact that the amount of dough her croissant recipe makes and her instructions on cutting and shaping them result in smaller and daintier croissants, rather than mammoth ones that are born out of Paul’s recipe. All in all, it was a close call, but Ruby’s recipe takes the W in the looks department.
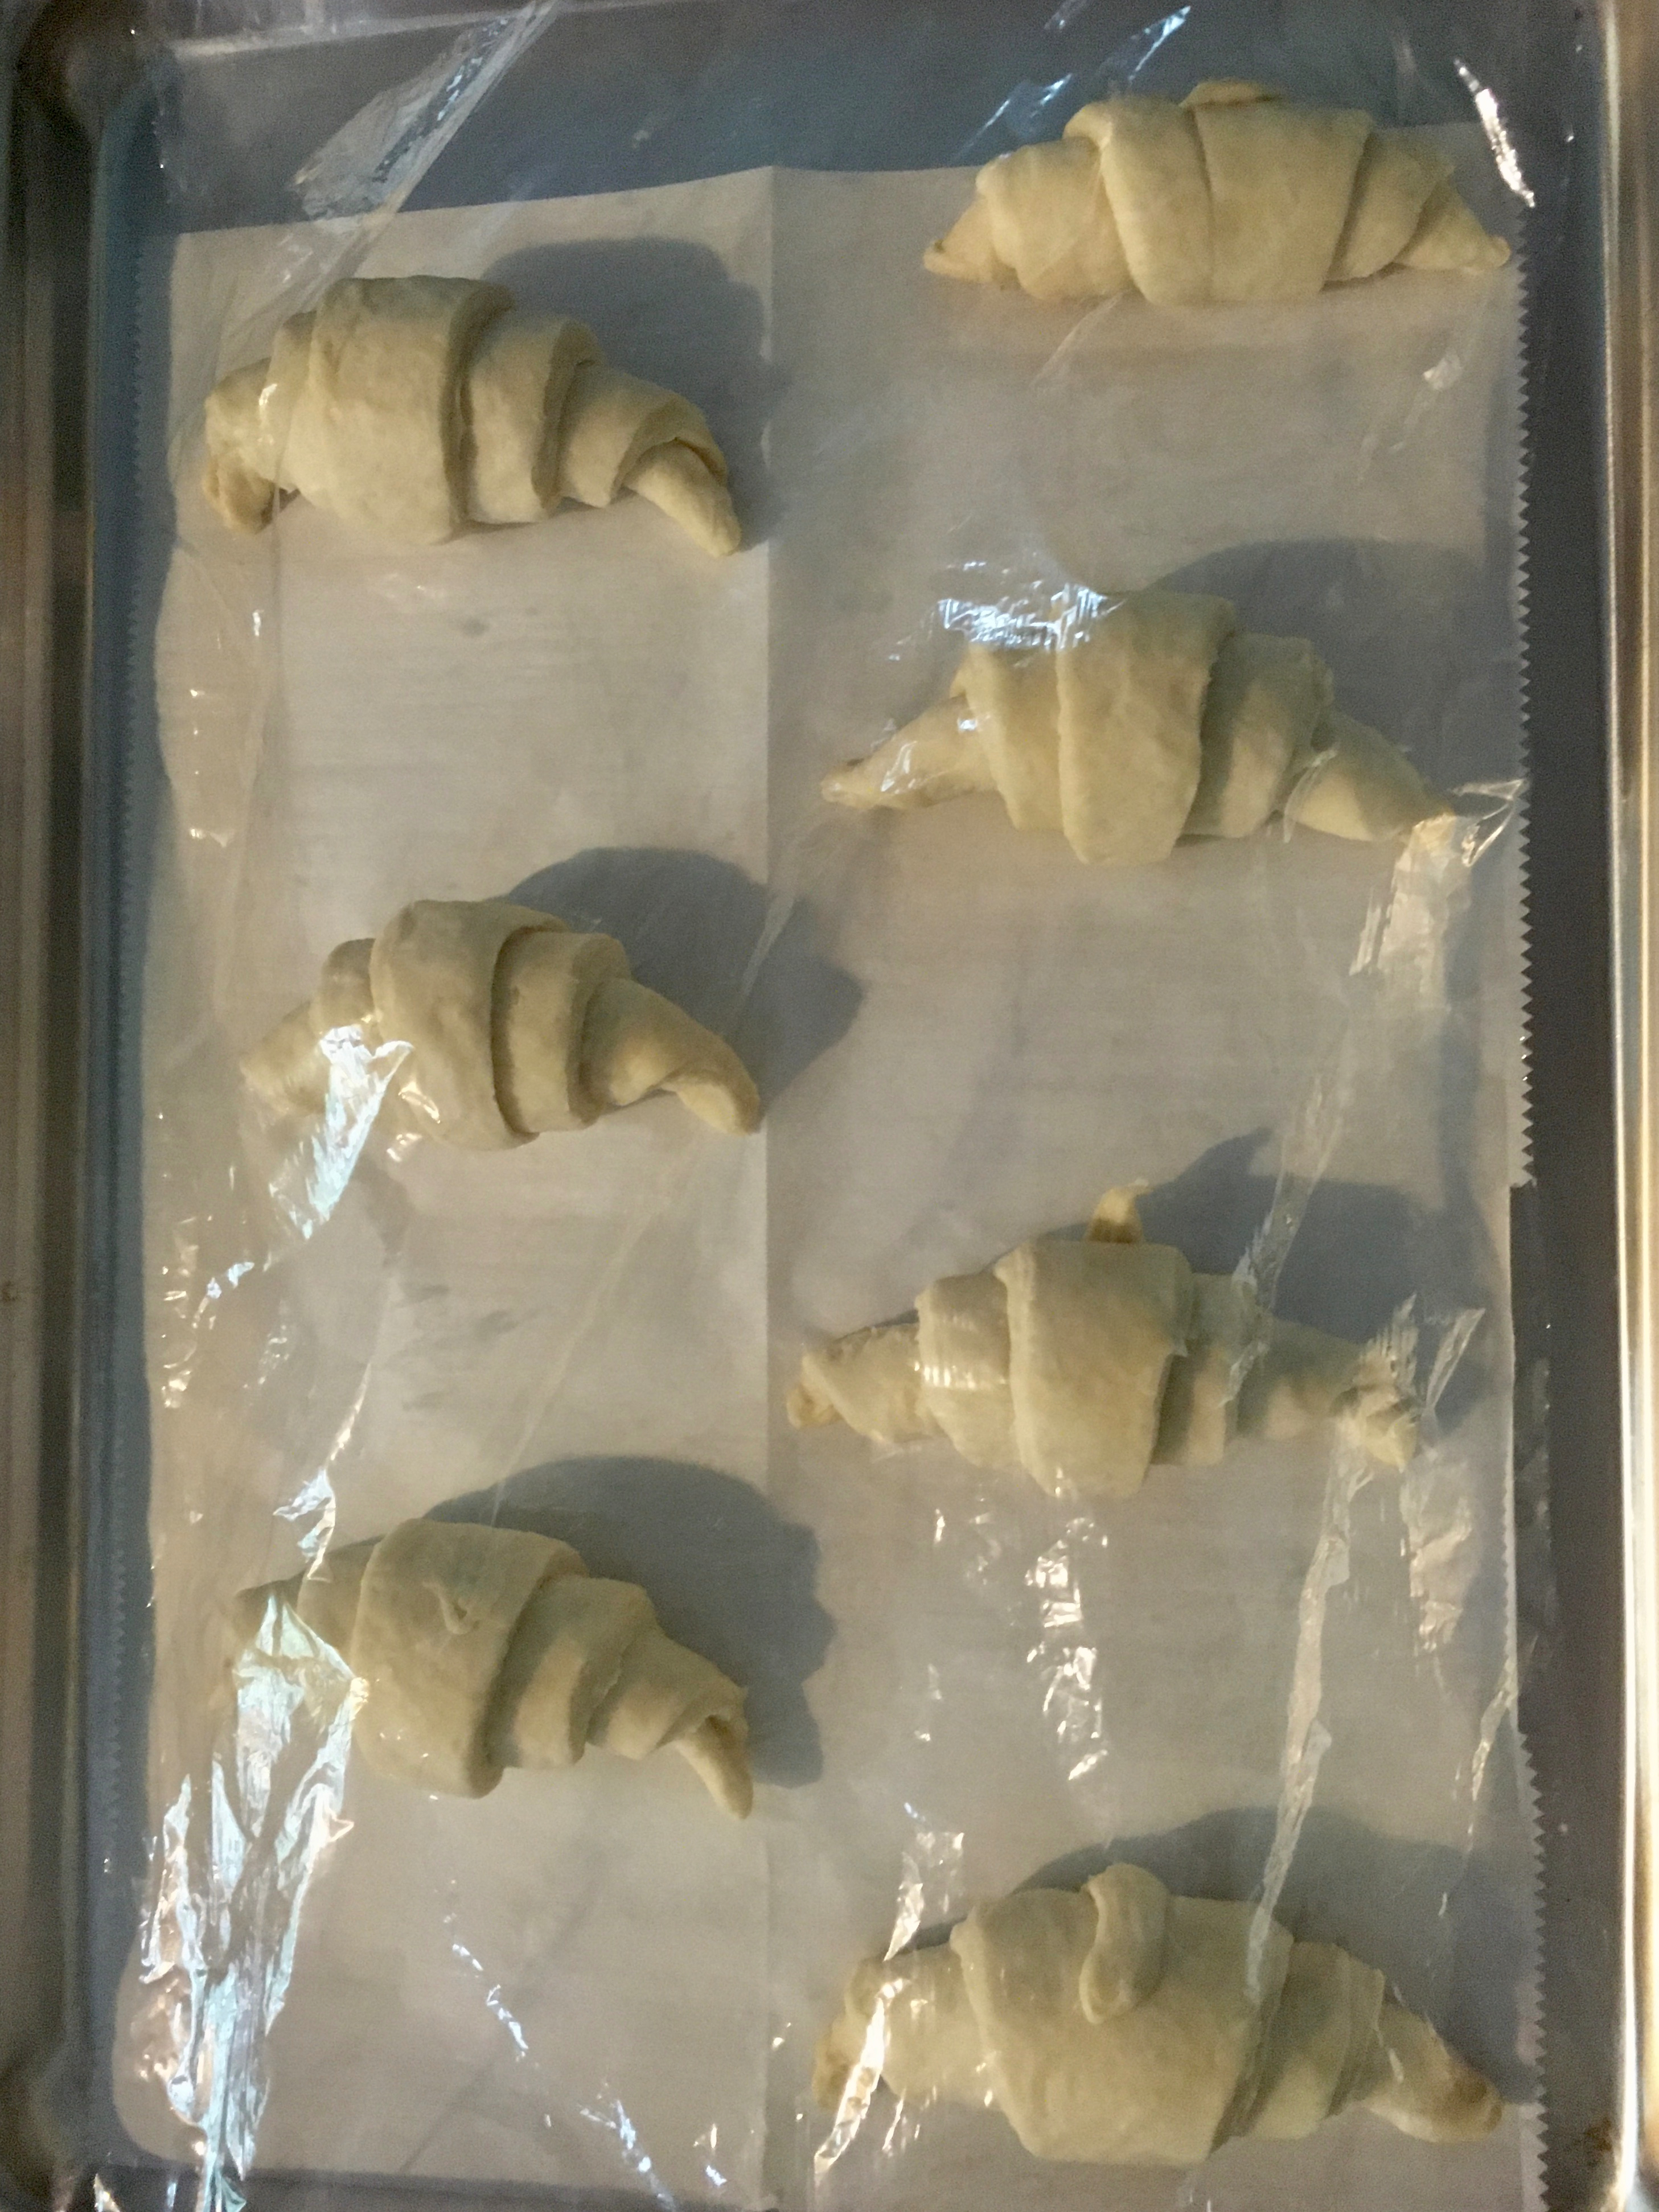
Ruby’s recipe is the photo on the left and Paul’s recipe is the one on the right.
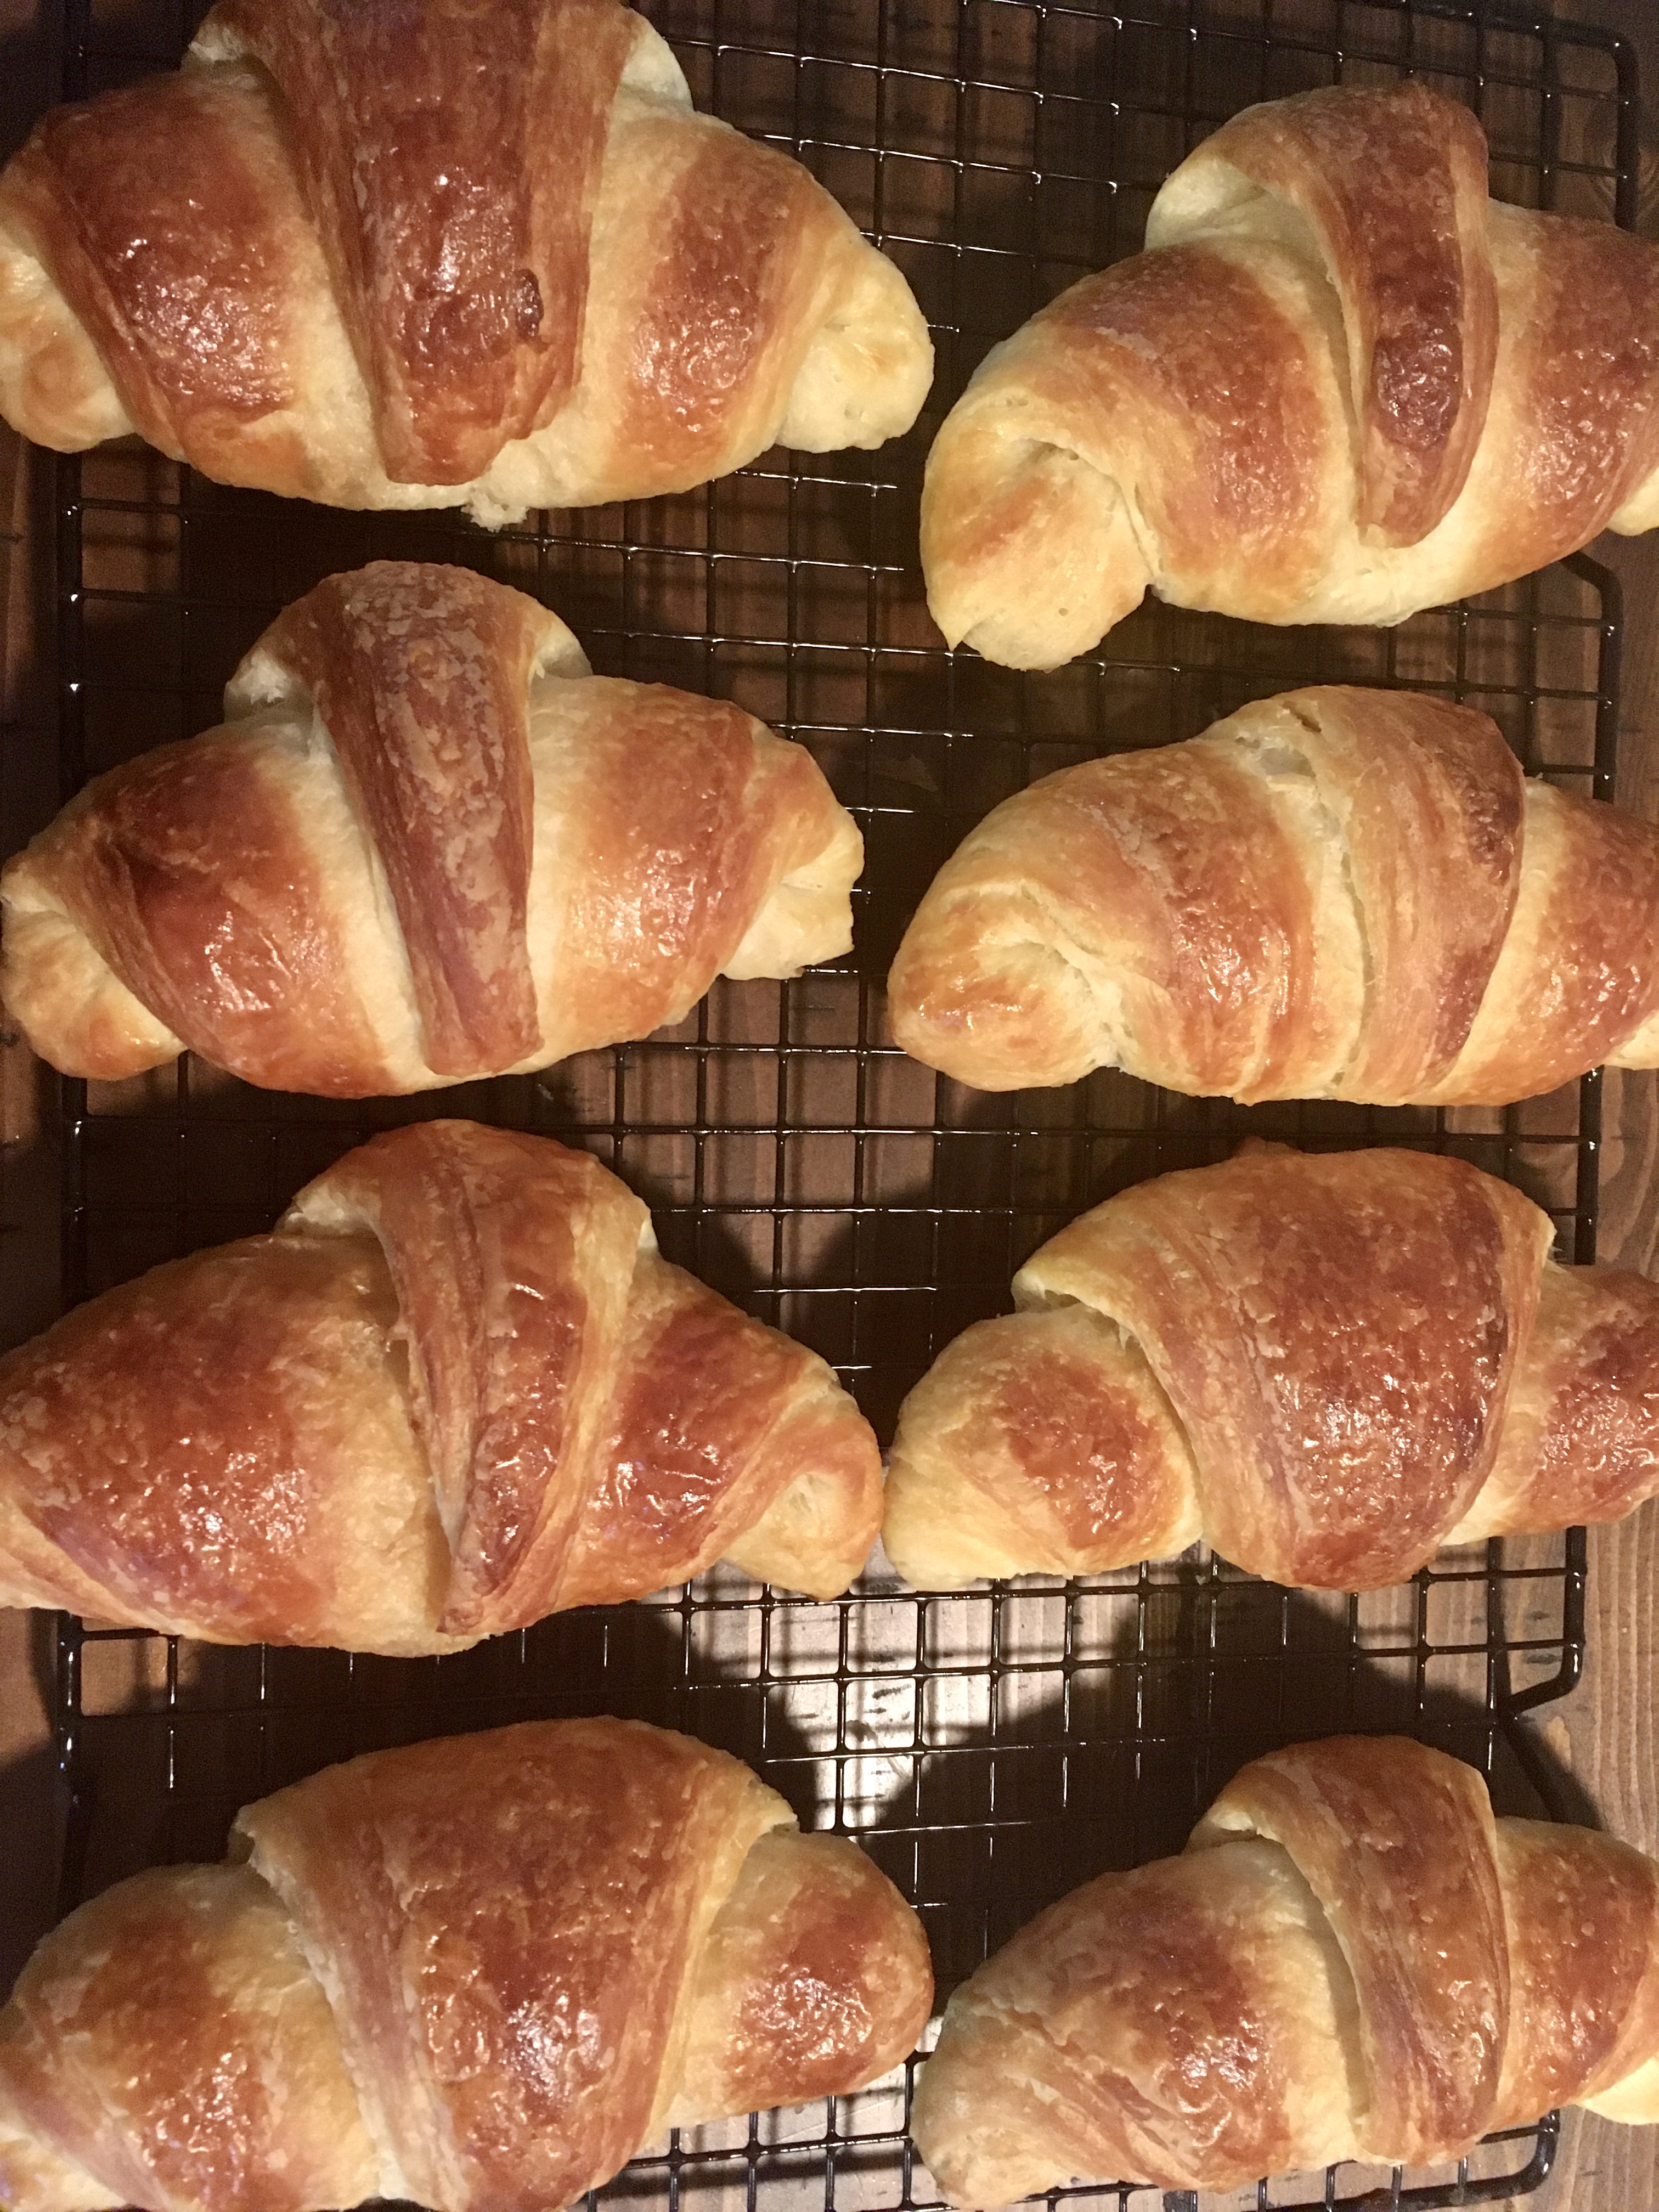
Another factor that really helped Ruby to clench the win was that I was able to achieve a better flake with her croissants; although, this could be attributed to the fact that my butter broke apart when making Paul’s dough (if the butter gets too cold and you’re too heavy handed with the dough, instead of the butter melding and becoming one with the dough, the butter will break apart under the dough. When this happens, the butter will leak out of the dough when baked. Not good.). If I make Paul’s recipe again and the butter doesn’t break apart like it did this time, his croissant flake might be better, who knows? But based on this go-around, Ruby’s recipe definitely produces a superior flake.

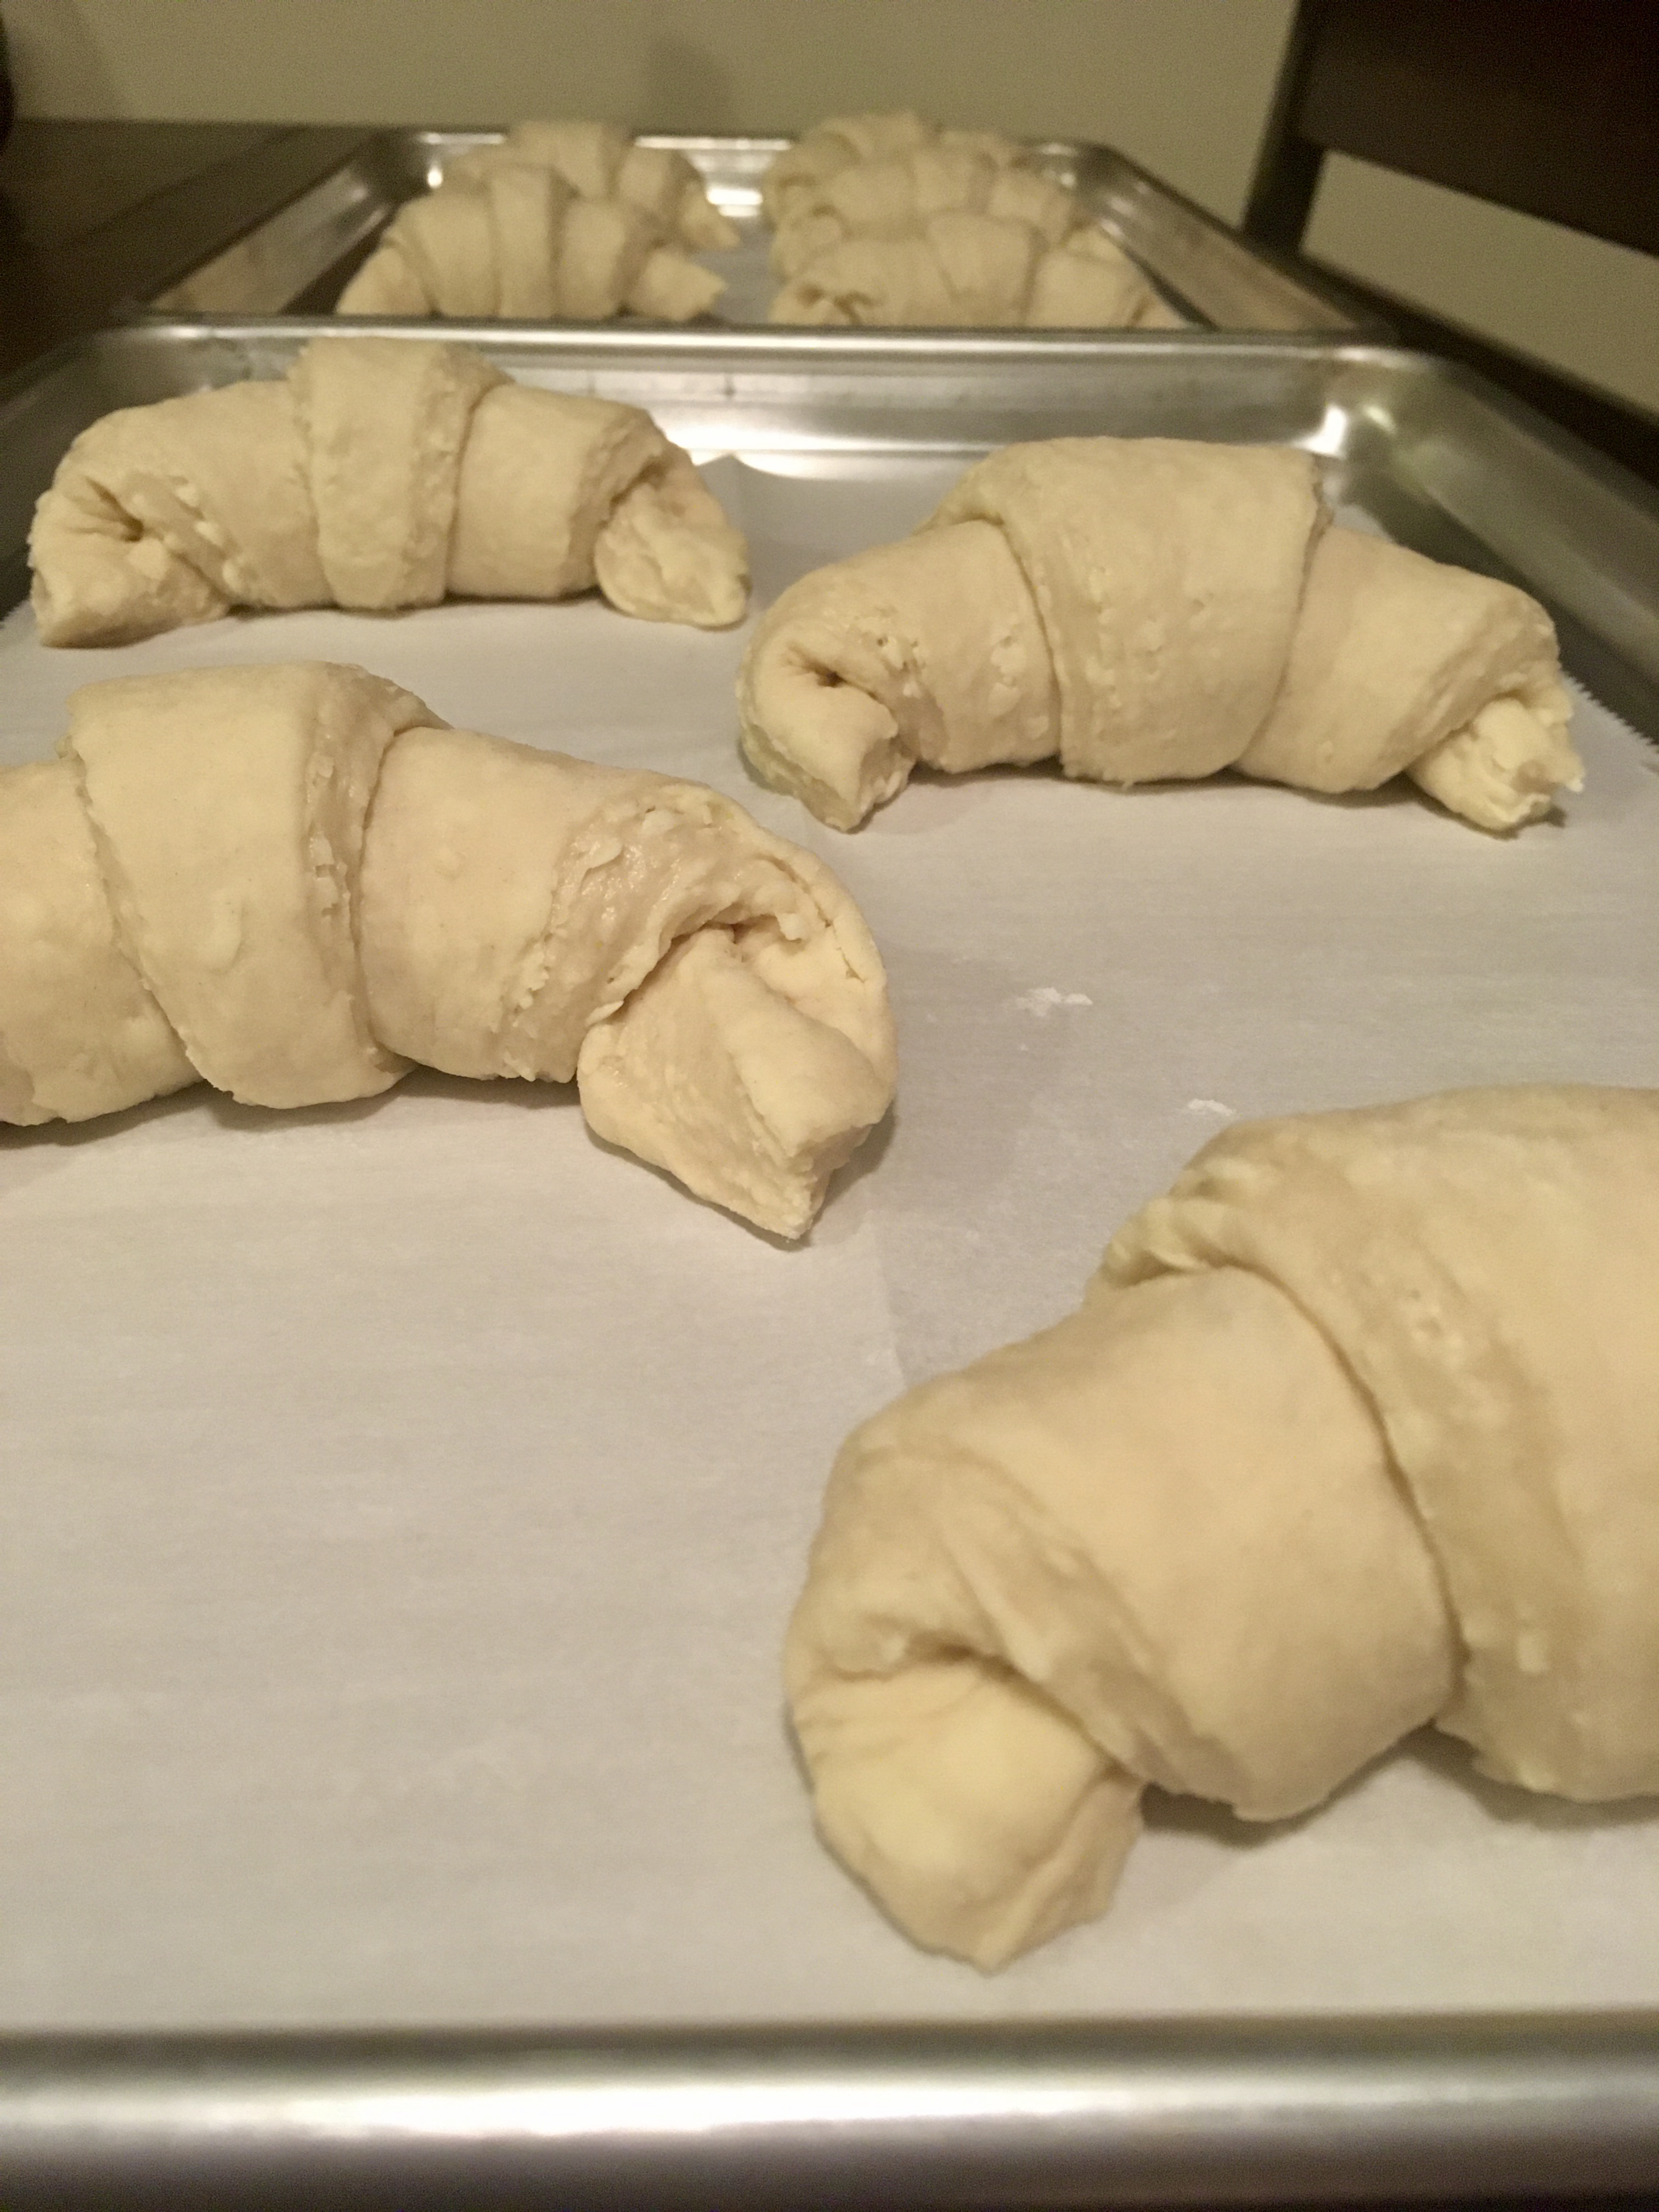
Ruby’s are picture perfect on the left and Paul’s are on the right.
I’ll let you be the judge on which is better; it all depends on whether you want a chewy croissant or not. Whichever one you choose, though, you won’t regret it one bit, and before you know it that idyllic morning I described at the beginning will become your reality. Enjoy all of those flaky layers!
I’m going to start with Ruby’s recipe since she won the showdown and Paul’s recipe will follow (I’ll put it in tomorrow).
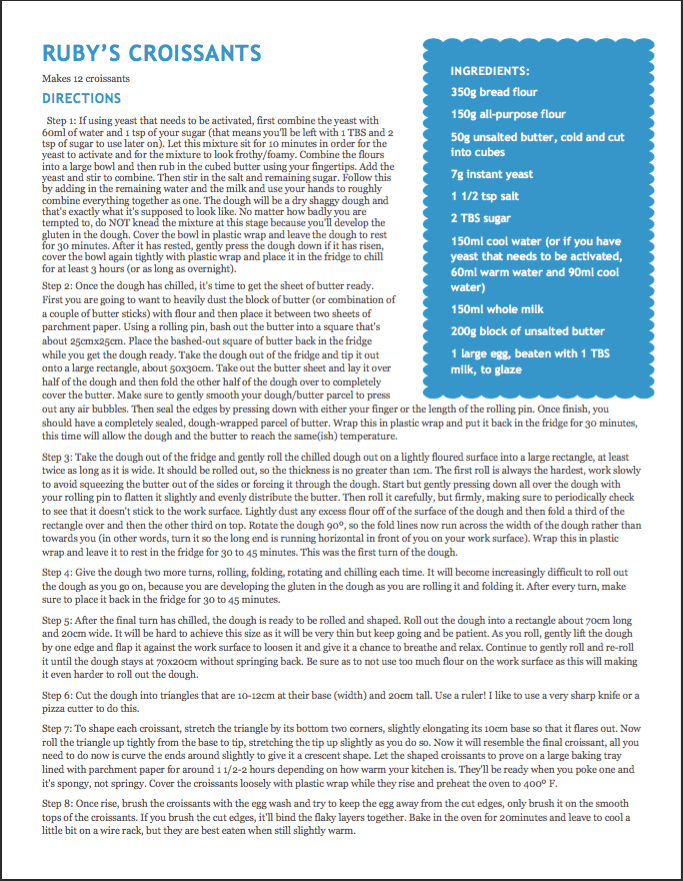
Ruby’s Croissant Recipe:
Makes 12 croissants
Ingredients:
- 350g bread flour
- 150g all-purpose flour
- 50g unsalted butter, cold and cut into cubes
- 7g instant yeast
- 1 1/2 tsp salt
- 2 TBS sugar
- 150ml cool water (or if you have yeast that needs to be activated, 60ml warm water and 90ml cool water)
- 150ml whole milk
- 200g block of unsalted butter
- 1 large egg, beaten with 1 TBS milk, to glaze
Directions:
Step 1: If using yeast that needs to be activated, first combine the yeast with 60ml of water and 1 tsp of your sugar (that means you’ll be left with 1 TBS and 2 tsp of sugar to use later on). Let this mixture sit for 10 minutes in order for the yeast to activate and for the mixture to look frothy/foamy. Combine the flours into a large bowl and then rub in the cubed butter using your fingertips. Add the yeast and stir to combine. Then stir in the salt and remaining sugar. Follow this by adding in the remaining water and the milk and use your hands to roughly combine everything together as one. The dough will be a dry shaggy dough and that’s exactly what it’s supposed to look like. No matter how badly you are tempted to, do NOT knead the mixture at this stage because you’ll develop the gluten in the dough. Cover the bowl in plastic wrap and leave the dough to rest for 30 minutes. After it has rested, gently press the dough down if it has risen, cover the bowl again tightly with plastic wrap and place it in the fridge to chill for at least 3 hours (or as long as overnight).
Step 2: Once the dough has chilled, it’s time to get the sheet of butter ready. First you are going to want to heavily dust the block of butter (or combination of a couple of butter sticks) with flour and then place it between two sheets of parchment paper. Using a rolling pin, bash out the butter into a square thats about 25cmx25cm. Place the bashed-out square of butter back in the fridge while you get the dough ready. Take the dough out of the fridge and tip it out onto a large rectangle, about 50x30cm. Take out the butter sheet and lay it over half of the dough and then fold the other half of the dough over to completely cover the butter. Make sure to gently smooth your dough/butter parcel to press out any air bubbles. Then seal the edges by pressing down with either your finger or the length of the rolling pin. Once finish, you should have a completely sealed, dough-wrapped parcel of butter. Wrap this in plastic wrap and put it back in the fridge for 30 minutes, this time will allow the dough and the butter to reach the same(ish) temperature.
Step 3: Take the dough out of the fridge and gently roll the chilled dough out on a lightly floured surface into a large rectangle, at least twice as long as it is wide. It should be rolled out so the thickness is no greater than 1cm. The first roll is always the hardest, work slowly to avoid squeezing the butter out of the sides or forcing it through the dough. Start but gently pressing down all over the dough with your rolling pin to flatten it slightly and evenly distribute the butter. Then roll it carefully, but firmly, making sure to periodically check to see that it doesn’t stick to the work surface. Lightly dust any excess flour off of the surface of the dough and then fold a third of the rectangle over and then the other third on top. Rotate the dough 90º, so the fold lines now run across the width of the dough rather than towards you (in other words, turn it so the long end is running horizontal in front of you on your work surface). Wrap this in plastic wrap and leave it to rest in the fridge for 30 to 45 minutes. This was the first turn of the dough.
Step 4: Give the dough two more turns, rolling, folding, rotating and chilling each time. It will become increasingly difficult to roll out the dough as you go on, because you are developing the gluten in the dough as you are rolling it and folding it. After every turn, make sure to place it back in the fridge for 30 to 45 minutes.
Step 5: After the final turn has chilled, the dough is ready to be rolled and shaped. Roll out the dough into a rectangle about 70cm long and 20cm wide. It will be hard to achieve this size as it will be very thin but keep going and be patient. As you roll, gently lift the dough by one edge and flap it against the work surface to loosen it and give it a chance to breathe and relax. Continue to gently roll and re-roll it until the dough stays at 70x20cm without springing back. Be sure as to not use too much flour on the work surface as this will making it even harder to roll out the dough.
Step 6: Cut the dough into triangles that are 10-12cm at their base (width) and 20cm tall. Use a ruler! I like to use a very sharp knife or a pizza cutter to do this.
Step 7: To shape each croissant, stretch the triangle by its bottom two corners, slightly elongating its 10cm base so that it flares out. Now roll the triangle up tightly from the base to tip, stretching the tip up slightly as you do so. Now it will resemble the final croissant, all you need to do now is curve the ends around slightly to give it a crescent shape. Let the shaped croissants to prove on a large baking tray lined with parchment paper for around 1 1/2-2 hours depending on how warm your kitchen is. They’ll be ready when you poke one and it’s spongy, not springy. Cover the croissants loosely with plastic wrap while they rise and preheat the oven to 400º F.
Step 8: Once rise, brush the croissants with the egg wash and try to keep the egg away from the cut edges, only brush it on the smooth tops of the croissants. If you brush the cut edges, it’ll bind the flaky layers together. Bake in the oven for 20 minutes and leave to cool a little bit on a wire rack, but they are best eaten when still slightly warm.
Now onto Paul’s recipe!

2 thoughts on “Croissants”