
Okay, so you never learned how to braid hair. No biggie. This recipes give you step-by-step instructions, so you can make a gorgeous eight-strand plaited bread that looks like it’s straight out of a bakery window. Your friends won’t be able to believe that it’s homemade.
I’ve always loved the look of a nicely plaited loaf of bread, don’t you? Whether it be a plaited loaf of challah or plain white bread, something about the little extra effort put in by simply braiding a loaf gets me. A plaited bread seems to give off an impressive air that says, “Hey! Look at me, I was made by a well-seasoned, experienced baker!” All it really boils down to this, a plaited loaf just looks more interesting than your run-of-the-mill, everyday circular loaf. Simple as that.
I’m not trying to bash a circular loaf here (trust me, I’m all for a nice round, crusty loaf of sourdough or white bread), but for special occasions or when I just need to spice up my life a little bit, a plaited loaf like this is perfect and doesn’t take a whole lot of skill or experience. Just follow these step-by-step instructions and you’ll be able to make your loaf standout from the crowd.
I was a little intimidated at first to try this eight-strand plaited bread recipe that I found in Paul Hollywood’s cookbook, How to Bake, but I just followed his instructs to a T, and everything turned out just fine! I ended up with a (pretty) straight and intricately weaved loaf of bread that I was excited to show off.
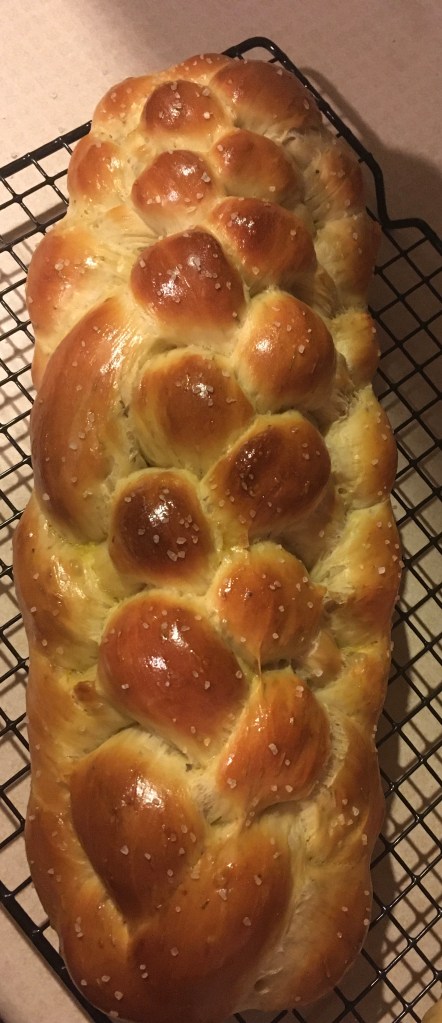
This plait can be done with any type of bread (I switch between just a plain, old white bread recipe and a garlic and rosemary challah bread recipe). No matter the type of bread you’re making (just not a wet, sticky dough, like sourdough), follow these steps and you’ll have success!
Eight-Strand Plait:
Once your dough has risen, knock it back and divide the dough into 8 equal pieces. Then roll each piece into a 16 in (40 cm) log/sausage. Lay the rolled-out pieces onto a lightly floured surface with the top ends gathered together. Tack the gathered ends to the work surface to hold them in place as you work/braid. With the strands of dough are laid out in front of you, number them 1-8. Number 1 will be the strand farthest to the left as you look at the strands and number 8 will be the strand farthest to the right. Every time you move a strand, the numbers will still be 1-8 in front of you (the number is referring to the position, not to the specific strand).
First, take 8 under 7 and over 1. This step you only do once at the start.
Then repeat the following steps until the plait is finished:
- Take 8 over 5
- Take 2 under 3 over 8
- Take 1 over 4
- Take 7 under 6
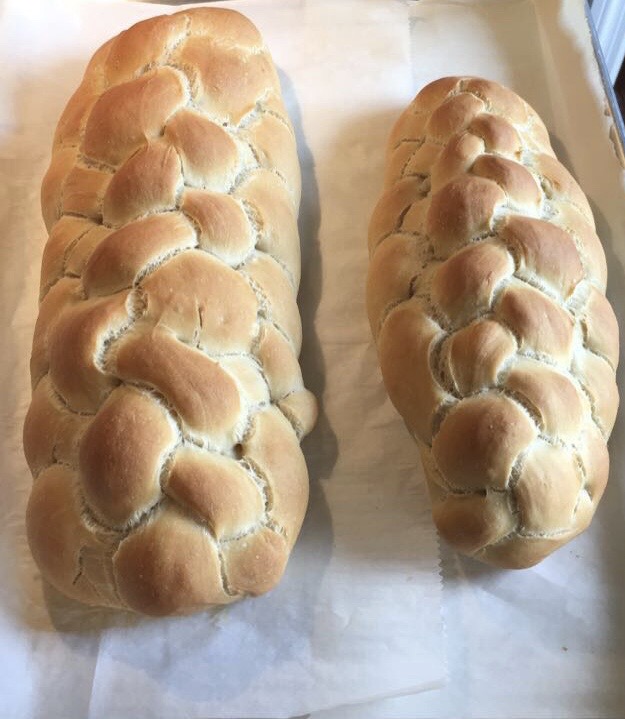
Be sure to keep the plait as even and straight as possible so that the strands are roughly the same length. When you’ve reached the end of the plait, use a bench scraper, or your hands, and chop the dough on each end to give you nice, sharp ends. Once you do this, tidy up the ends as needed. Then place the loaf on a parchment paper-lined cookie sheet and put into a plastic bag. Leave to prove for about 1 hour (until the dough has doubled in size) for white bread (this proving time will vary if making challah bread). (The featured image is a picture of what the white bread recipe looks like once baked.)
And that’s it! Easy, right? Now, you might need to give it a couple of tries at braiding the first time before it looks right, but you’ll get there!
Below is the recipe for eight-strand plaited white bread:
Makes 1 loaf | Total Time: About 4 hours
Ingredients:
- 600 grams bread flour
- 12 grams active dry yeast
- 1 tsp sugar
- 12 grams salt
- 35 grams unsalted butter, softened
- 400 ml water
- Olive oil for kneading
Directions:
Step 1: Mix together the yeast, sugar and 75 ml of warm water into a small bowl. Let this sit for around 10 minutes in order for the yeast to activate. After 10 minutes, the mixture should be foamy on top. Then in a large mixing bowl, pour in the flour and add the yeast mixture on top. Use your hands to mix this together and then add in the salt, butter and ¾ of the remaining 325 ml of cool water. Mix this together with your hands. Add in the remaining water, a little at a time, until all of the flour has been picked up from the sides of the bowl. You might not have to add all of the water, or alternatively, you might have to add more water. You want the dough to be soft, but not soggy. Form the mixture into a rough dough.
Step 2: Coat a clean work surface with a little bit of olive oil and then tip out the dough, kneading it for 5-10 minutes. At first, there will be a wet stage, but if you keep kneading, eventually, the dough will start to form a soft, smooth skin. At this point, put the dough into a lightly oiled bowl (large). Cover with plastic wrap and leave to rise for about 1 hour (leaving it for 2 or 3 hours is fine too) or until at least doubled in size.
Step 3: Once the dough has risen, scrape it out of the bowl onto a lightly floured work surface. Knock all of the air out and divide it into 8 equal pieces. Then roll each piece into a 16 in (40 cm) log/sausage. Lay the rolled-out pieces onto a lightly floured surface with the top ends gathered together. Tack the gathered ends to the work surface to hold them in place as you work/braid. Step 4: As the strands of dough are laid out in front of you, number the strands 1-8. Number 1 will be the strand farthest to the left as you look at the strands and number 8 will be the strand farthest to the right. Every time you move a strand, the numbers will still be 1-8 in front of you (the number is referring to the position, not to the specific strand).
Step 5: First, take 8 under 7 and over 1. This step you only do once at the start.
Step 6: Then repeat the following steps until the plait is finished: Take 8 over 5, take 2 under 3 over 8, take 1 over 4, and take 7 under 6.
Step 7: Once you’ve reached the end of the plait, use a bench scraper or your hands and chop the dough on each end to give you nice, sharp ends. Once you do this, tidy up the ends as needed. Place the loaf on a parchment paper-lined cookie sheet and put into a plastic bag, leaving it to prove for about 1 hour (until the dough has doubled in size).
Step 8: While waiting for the bread to prove for the last time, preheat the oven to 450º F and place a roasting tin on the bottom rack inside the oven. After the dough has risen and the oven has fully preheated, fill the hot roasting pan with hot water (in order to create the stream needed for a good crust). Then take the bread out of the plastic bag and quickly put the bread into the oven. Bake for 30 minutes or until it is fully cooked and hollow sounding when tapped on the bottom. Cool on a wire rack before slicing.

Happy baking!:)
